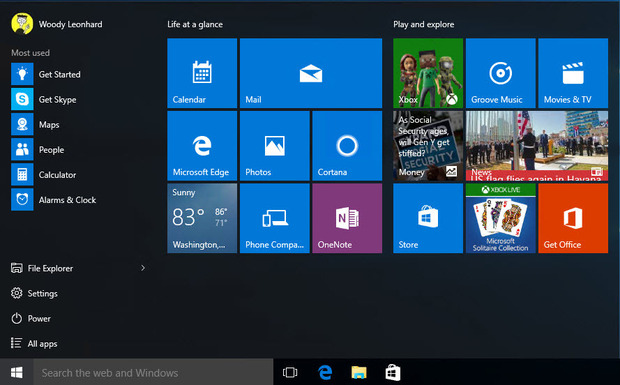
Managing your Windows 10 Start Menu

The tiled part of the new Start Menu is a bit of a bomb site and looks totally unfriendly when you first open it, but with a bit of effort it can be mastered. The first thing we suggest is making it two columns wide. This is done simply by dragging the right hand edge of the new start menu further to the right (move the mouse pointer over the edge until you see arrows pointing in opposite directions, then press and hold your mouse button and drag the pointer to the right). Now you can see two columns that are three tiles wide each.
Next thing to do is lay the tiles out as you want them, not as Microsoft have given them to you. This is easy to do. You can drag the tiles around to get them where you want them. And if you don’t want them, just right click on them and select UNPIN FROM START. Now you have right clicked you will also see you can resize the tile, go to the file location and even uninstall the program.
To add what YOU want on the Start Menu just click on START and go into ALL APPS, then right click on things like Word, Excel and Powerpoint, which you ‘Pin to Start’. Then you drag them into groups. It’s easy to do and gives you what you want in the Start Menu.
